Who doesn’t love photographing flowers? With a little extra planning and effort, you can create even more attractive images of flowers inside a studio. Photographer Ed Verosky teaches you three flower photography looks that you can create with simple lighting and post-processing:
Look #1: Complementary Background
Get yourself some sheets of arts and craft paper with interesting patterns and colors. They can be used as beautiful backgrounds for the purpose of photographing the flowers. Verosky purchased a few sheets at a local Hobby Lobby for around 25 cents each.
Setup
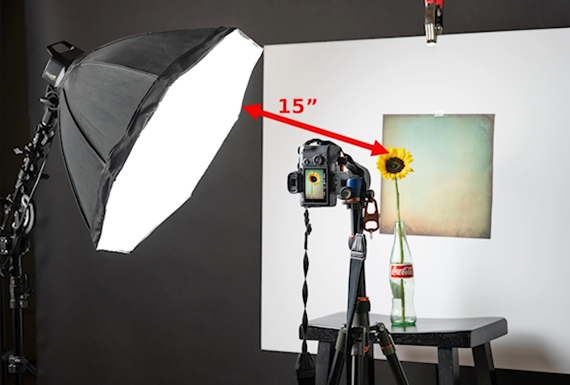
For the actual setup, Verosky taped the background paper to a foam board. With the flower placed in front of the background, he then illuminated the flower with a softbox. He placed the light with the closest part of the softbox about 15 inches from the flower. He then set his Sony A7III with a 24–70mm lens at 70mm in front of the flower on a tripod.
Post-processing
Once done with the shoot, Verosky made the following adjustments to the image to get to his final result:
- decreased the contrast
- desaturated the yellows on the flower petals
- added some sharpening in Lightroom, and then some more sharpening in Photoshop using Smart Sharpening
- introduced some vignette to emphasize the flower
- removed dust spots using the clone tool
Look #2: White Background
“You don’t always have to have a background. You don’t always need context outside of the subject itself. These beautiful flowers are fascinating to look at in their natural design, aren’t they?”
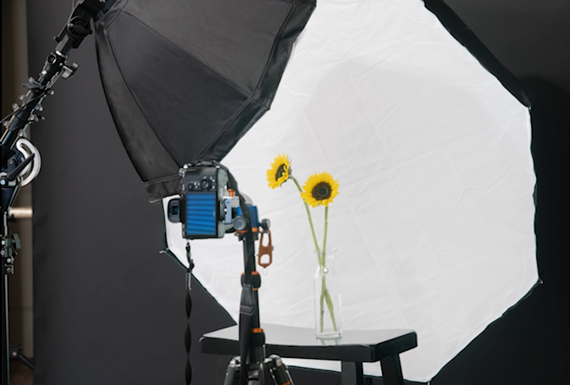
In order to achieve look with a clean background, Verosky lit the flowers from the front in the same way he did in the first case. However, for the background, he uses a big Apollo Orb softbox. If you don’t have an extra softbox around, you can use a clean white cloth or white translucent material and light it from the back.
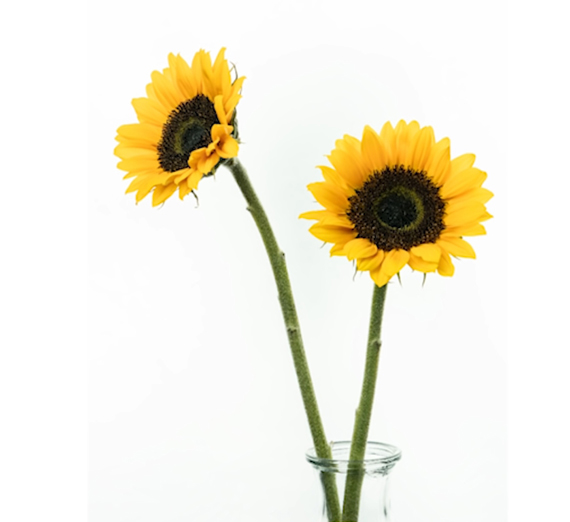
55mm, ISO 400, f/14. 1/125 second
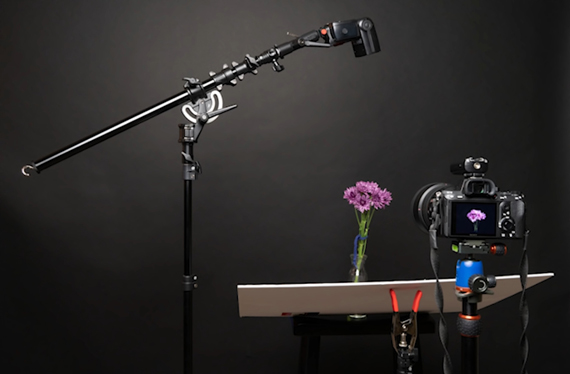
With a little tweak in the lighting setup, Verosky demonstrates how you can give the flowers an ethereal look while maintaining the white background. With white cardboard or foam board for the background, place your flower in front of the camera. Then, using a light stand, point a speedlight directly at the background.
The background looks okay, but as you can tell, the flower looks underexposed. To overcome the issue, simply boost the exposure in post. This is where shooting in raw comes handy. This brings up the darker areas of the image while making the background even brighter. This is what gives an ethereal look to the image.
Again, Verosky shares how you can get a translucent dreamy look using a rather simple setup. Place your flower in front of a softbox and use a really shallow depth of field.
Look #3: Dark Background
After working with a colorful background and a white background, Verosky demonstrates how you can work with a dark background. The motive of having a dark background is to draw the viewers’ attention solely toward the subject.
Place the flower in front of a dark background and light it from above using a speedlight. When setting up the speedlight, make sure that more of the beam is thrown on the front and top of the flower. You may need to adjust the flash positioning and power setting following some trials and errors. Then, using a white foam core, bounce some light onto the flowers to fill in some harsh shadows. Just like you’d do when taking a portrait.
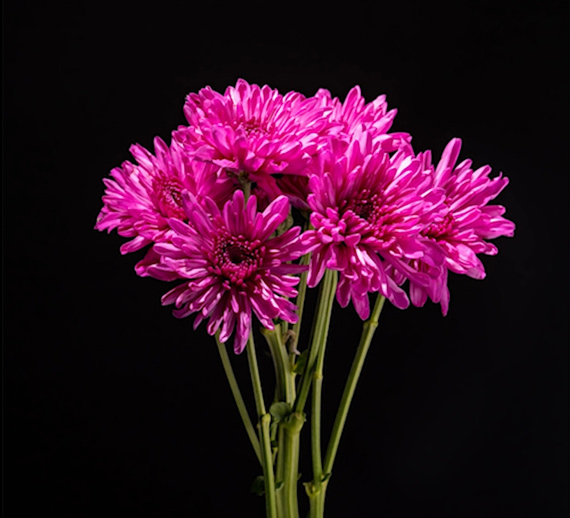
85mm, ISO 100, f/9, 1/200 second
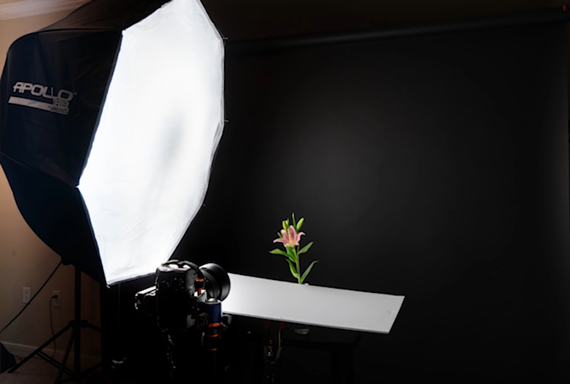
Dark Background Without Flash: Another way Verosky demonstrates how you can photograph a flower with a black background is by removing the speedlight from the top, and placing the Apollo Orb to the side of the flower. The Orb is placed in such a way that most of the light is well above the flower.
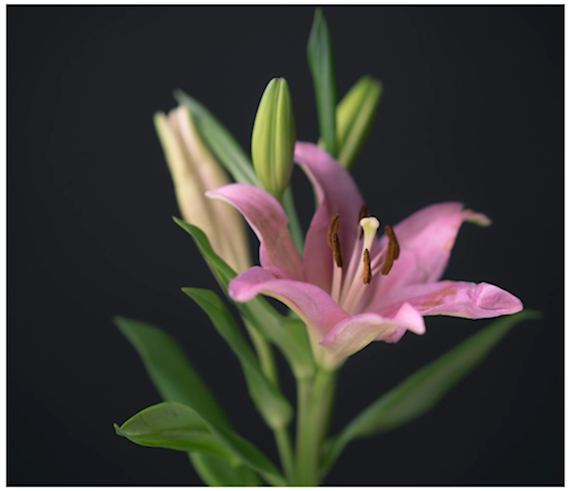
ISO 100, f/1.8, 1/160 second
It’s fun to experiment with various photo setups.
Like This Article?
Don't Miss The Next One!
Join over 100,000 photographers of all experience levels who receive our free photography tips and articles to stay current:





Nice. I do have a question . I would like to know how to just soften the the bottom part of the stem, do you have a step by step way of doing this. thank you