Photographers use a variety of lights as a part of their setup to get dramatic effects: key light, fill light, background light, and kicker light. While starting out, it may be difficult financially and technically to use all these lights. Luckily, you can get several different looks with just one light. Photographer Tommy Reynolds explains how you can use a single softbox in five different positions to get really interesting results:
45 Degree Angle
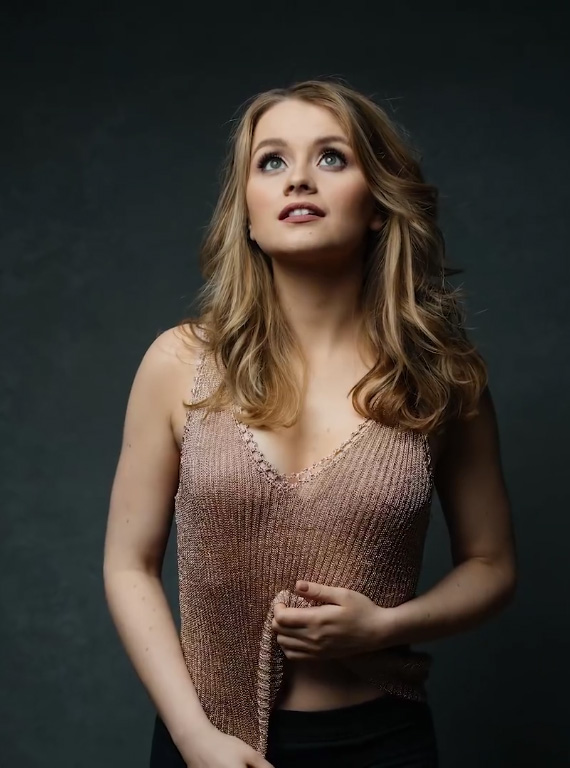
This is Reynolds’ go-to lighting position. As the name suggests, place the softbox either at the right or left, tilting downward at an angle of 45 degrees. This setup gives a nice highlight and shadow ratio that adds to the contrast of the image. This lighting setup is also popularly known as Rembrandt lighting, signified by the formation of a triangular shadow on the side of the face away from the light. This basic lighting setup can be your starting point if you’re a flash photography beginner.
70 Degree Angle
For this second lighting setup, Reynolds likes to use a grid to control the spread of the light and channel it toward the subject. Tilt the light downward at a roughly 70 degree angle and lift it upward more than in the 45 degree angle setup. This setup creates even more shadow for a moody look. However, attention should be given that the face is properly lit, otherwise there is a high chance of formation of dark shadows under the eyes, nose, and chin. Just ask the model to keep their chin high to avoid this. Also, if you want to create a moody look using a dark background, ask the model to come forward and move the light forward, as well, away from the background. The grid will prevent light from spilling onto the background, causing it to darken.
Side Lighting
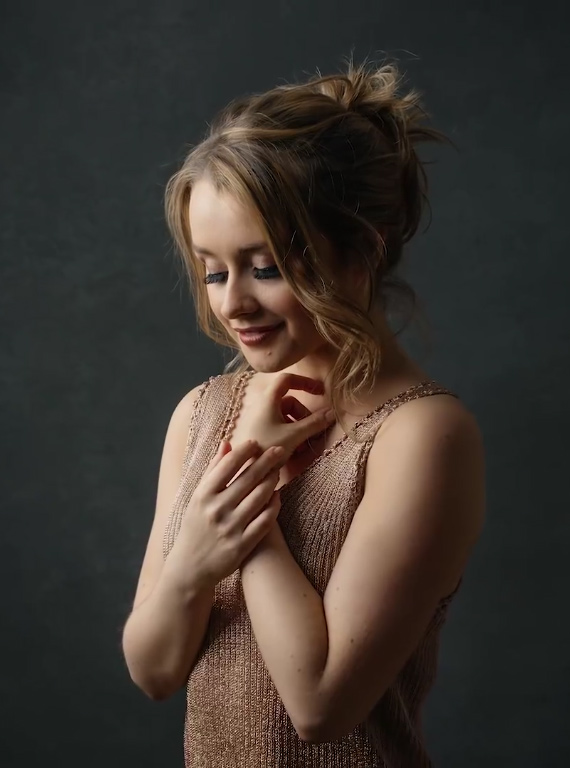
This setup uses the light as a side light by placing the softbox at one of the sides of the model. To avoid half of the face going completely dark, you can ask the model to turn their body slightly toward the light for some interesting results. Experiment by asking the model to turn in different directions.
Clam Shell Lighting
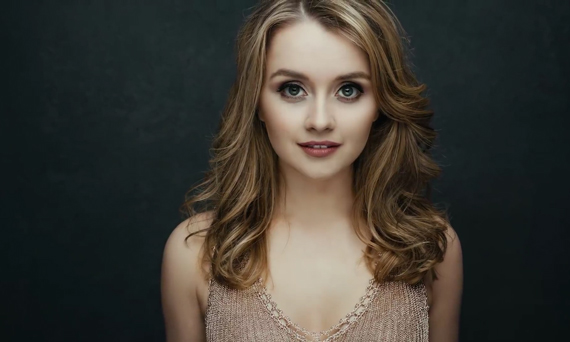
In the clam shell lighting setup, the model is lit with a light source tilted roughly 45 degrees straight on, and a reflector is used below her face to fill in the harsh shadows underneath the eyes, nose, and chin. This technique is quite useful for head shots, and it creates a beautiful catch light in the the model’s eyes.
Backlighting
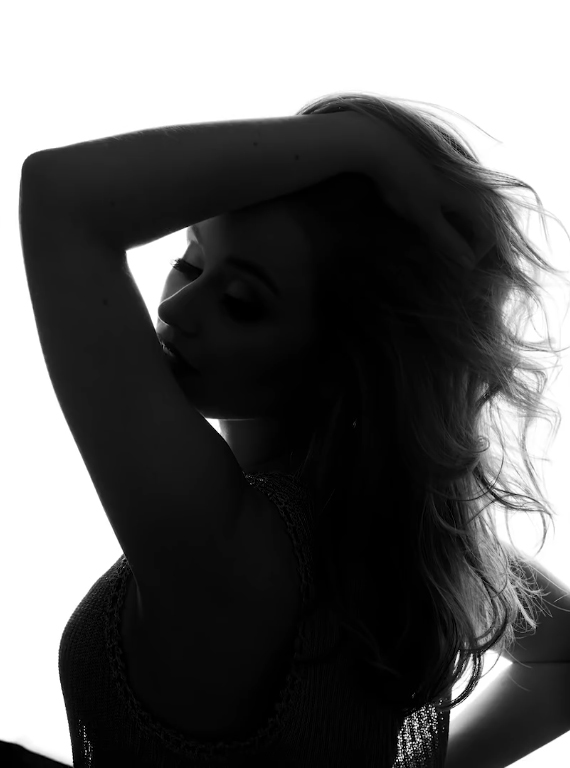
In this final technique, the softbox is placed behind the model to create a silhouette effect. No light hits the front of the model, which darkens the part in front of the camera. This technique can be used to capture the outline shape of the model’s body.
These simple yet very effective lighting techniques are convenient for portrait photography projects when you only have one light at your disposal. So go ahead and give them a try!
Like This Article?
Don't Miss The Next One!
Join over 100,000 photographers of all experience levels who receive our free photography tips and articles to stay current:





Leave a Reply