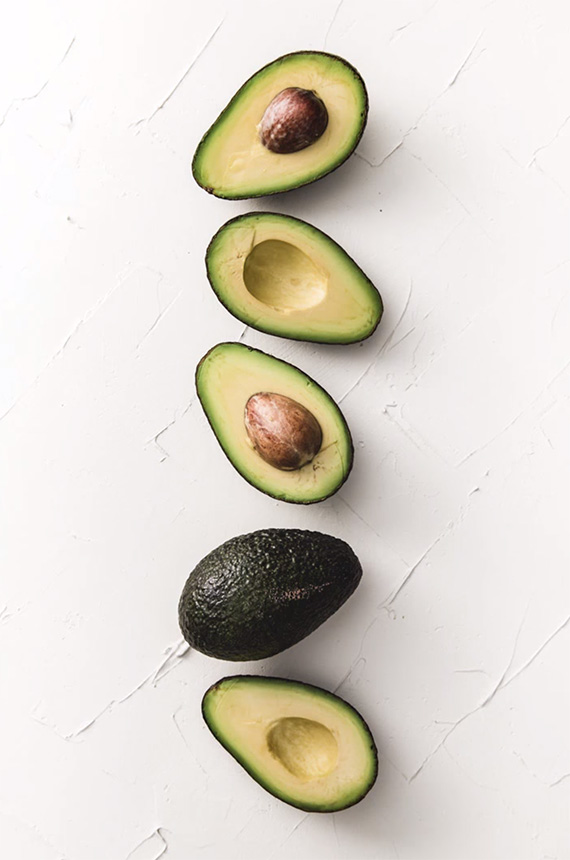
Looking to spice up your food photography? Food photographer Joanie Simon has a few suggestions on how to build a DIY backdrop that’s sure to save a few dollars and add some character to your shots:
Believe it or not, you can easily build a custom-made backing panel for less than $30. Though the process itself takes a little bit of time and effort, color, and texture make all the difference in creating mood and environment in a photograph. Most importantly, a well placed backdrop can draw viewers’ eyes toward the food that you’d like to highlight.
The backdrops are composed of three basic parts: laminated plywood, joint compound, and paint. At only about $7 a piece, plywood makes for an excellent base. Unlike a material like foam core, it won’t buckle or warp with time. It’s also lightweight enough to be easily transported. But, the most beneficial quality to a plywood backing is the fact that both sides can be used, making for two backdrops on a single panel.
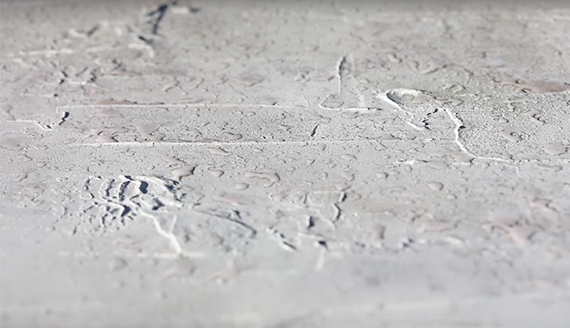
The first step is to apply the joint compound to the surface of the board with a putty knife . Although the material is most often used for drywalling, the lines and grooves that are left behind with each stroke of the knife create some interesting textures. Once the plywood is completely covered and the compound is spread to your liking, let the material set in place for at least 24 hours before proceeding forward with the paint.
After everything is dry, layer different shades of matte finished paint on top of one another. For food photography, muted colors often work best to bring out the colors of the subject and make foods and beverages appear more appetizing. However, this step is the one in which you can get creative. Experiment with brush motions, blending techniques, and different types of paint. Try using metallic or saturated tones as accents, mixing oil pigments with water, and applying textures with a sponge. Though the impact these methods might seem subtle on their own, when combined they add depth and dimension.
When you’re finally satisfied with how everything looks, the last thing left to do is to apply a matte finish spray. With a few layers in place, it’s possible to clean off the surface in the event of a spill.
But should you make a mess of your panel, never fear—the beauty of these panels is that it’s possible to repaint and reinvent any time you’d like!
Like This Article?
Don't Miss The Next One!
Join over 100,000 photographers of all experience levels who receive our free photography tips and articles to stay current:



Leave a Reply