Peter McKinnon, a professional product photographer, often receives products in the mail from his customers, who ask him to take photos. His love for textures and the use of odd props is what make his images come together and stand apart from the crowd:
Themes, Textures, and Props
When deciding how to photograph your product, break the shoot down into three distinct sections: themes, textures, and props.
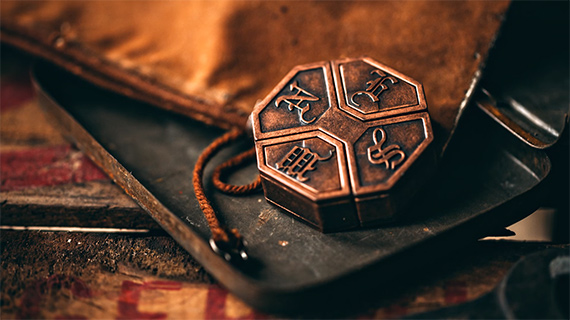
McKinnon goes to great lengths for finding props that offer him plenty of creative flexibility. For example, for the cast iron puzzle he was shooting, he went to an antique store and looked for old, metal props to accent it.
Investment
Of course, the time and money spent on these rusty, worn out textured props can be stretched further.
McKinnon chooses items that can be used again in future shoots, so his purchases are an investment.
Tools for Product Photography
McKinnon uses a macro lens and natural light for the shoot.
He demonstrates that it’s necessary to shoot inside an expensive studio or use very expensive tools to achieve professional results.
How do you set up your product photography shoots? Do you have a process that works?
Like This Article?
Don't Miss The Next One!
Join over 100,000 photographers of all experience levels who receive our free photography tips and articles to stay current:
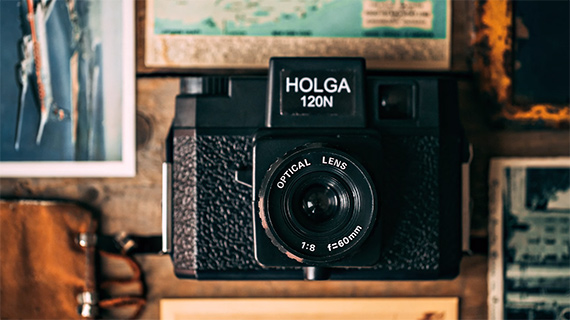
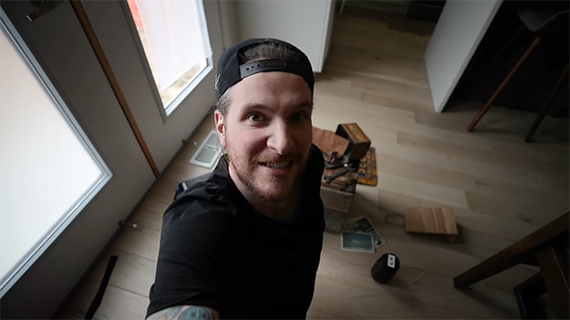


An expensive studio is absolutely not required. He literally says at 10:54 in the video “you don’t need a big-ass studio”. And he also makes a point to show that he’s shooting this on the floor in his house using only natural lighting from the window. I don’t think the poster of this article, Rajib Mukherjee, even watched the entirety of Peter McKinnons video.
No, sorry, an expensive studio is not required if you know what you are doing. I have done this type of work in my house, great results.