Photographs by their very nature capture a split second in time. But often a photographer will want to suggest what comes just before or after the shot by portraying movement. There are some very obvious circumstances when you’ll need to capture motion, for example sports photography, but the same techniques can also be used in other situations to convey a feeling or a mood.
There are several different tricks for shooting moving objects, each of which will result in a slightly different final image. Remember though, no matter how many hot tips you read, photographing motion will always be part technique, part art. Be sure to practice and independently experiment to get the look and feel you’re after.
That said, in my many years working as a professional photographer for both events and creative projects, I’ve learned some tried and tested techniques for capturing motion in photography. Here are the basics:
Freezing (All Crisp)
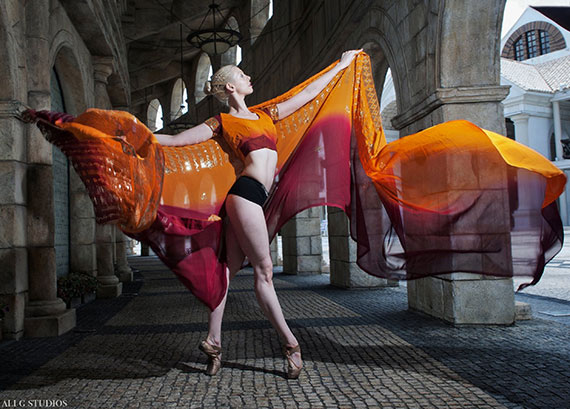
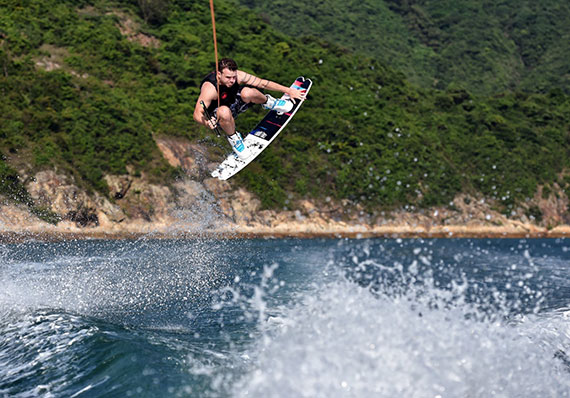
One way to capture movement is to freeze the entire field of vision, just as we all imagine a photo does anyway. This works particularly well in images where both the foreground and background are moving, such as a bird flying through a rain storm. For this technique you’ll need to use a very fast shutter speed, at least 1/1000 of a second, I would say.
Nowadays most cameras allow you to capture a scene at 1/8000 of a second or faster, but the exact shutter speed you want will depend on a variety of factors, such as how fast your subject is moving, how much movement you want to convey, and how crisply you want to define your subject. Getting this balance right can result in some really awesome motion shots.
Long exposure (All Blurred)
On the contrary, if you want to blur everything in your scene, you’ll need to use a slow shutter speed, otherwise known as long exposure. Blurring everything is risky, but the best scenes will be those that offer bright or highly contrasting colors. Most fully blurred photos are created for artistic, rather than practical, reasons. Remember, however, that when using long exposure times, you run the risk of excess light bleaching out your photos. You can remedy this by reducing your aperture and lowering your ISO setting.
Long Exposure (Moving Subject Blurred)
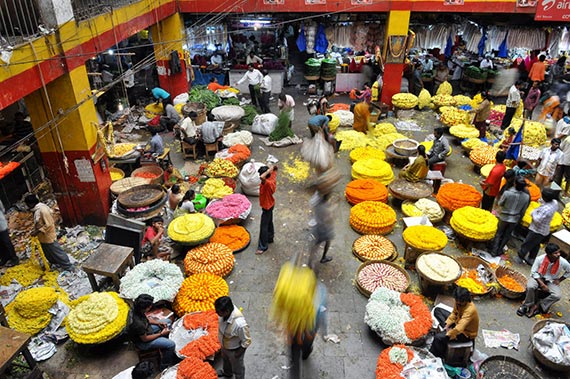
A lot of photographers use long exposure to blur just the moving subject of the photograph, thereby conveying movement and/or speed. This is often seen with star trails, car headlights and other forms of night photography, as well as busy daytime street scenes and moving water. It’s important to use a tripod for this technique so your camera remains steady. You’ll also need plenty of time to wait for the longer exposures and adjust and correct your settings during the shoot. Obviously the advent of digital photography makes this a whole lot easier!
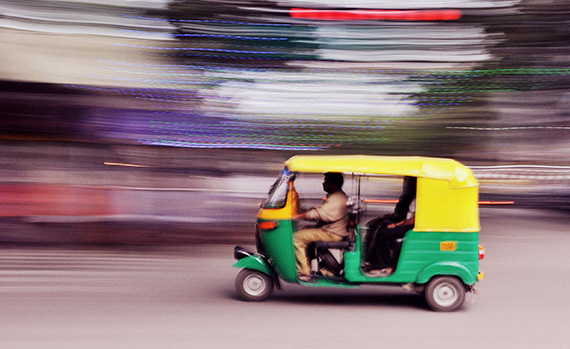
Panning (Background Blurred)
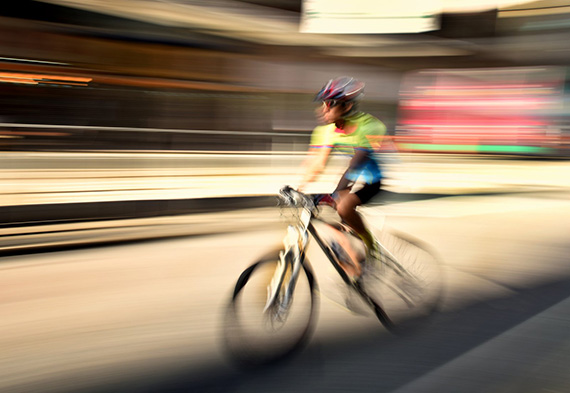
If you want your subject to remain in focus while your background is blurred, you’ll need to employ the panning technique. Rather than using a tripod to keep your shot steady as in the above method, here you’ll want to follow your subject with the camera during the exposure time. You’ll need to match both the speed of your subject and the direction in which it’s traveling to get the clearest image.
For best results, set up with a clear view of the object approaching and plenty of room to swivel on a parallel axis as it passes by. Follow the subject as it moves through your field of vision and keep tracing their line of motion even after the shot. It takes practice, but this method can result in really cool motion images, especially if you have an unattractive or distracting background.
Zooming
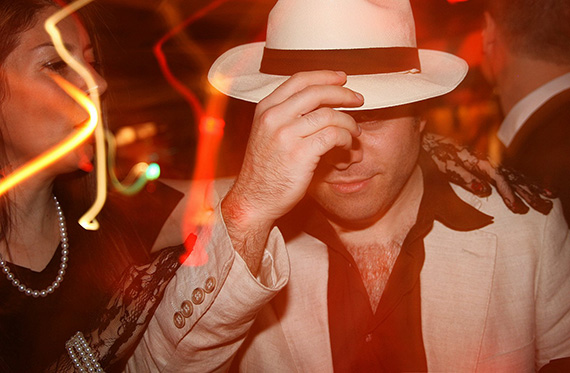
For more abstract photos of movement, try the zooming technique, whereby you manually change your focal length during a long exposure. Physically rotating the zoom lens creates some really cool effects that work particularly well with night scenes, moving neon signs, and fireworks. The same technique employed during the day can render your subject unrecognizable, but if you’re going for something more abstract, that can be a good thing.
Personally, I think a good photographer should at least be familiar with all these techniques even if they don’t use them all the time, because at the end of the day, it’s good to mix it up sometimes!
About the Author:
Ali Ghorbani (otherwise known as, Ali G) is a luxury wedding, events, corporate, and celebrity photographer based in Hong Kong. You can follow him on Facebook and Instagram.
Like This Article?
Don't Miss The Next One!
Join over 100,000 photographers of all experience levels who receive our free photography tips and articles to stay current:




Very nice and useful information. I am not as active in photography now as I was in the past. Too busy. Hope after my move to PA my life will slow a bit and I can once again get back into photography. I plan to use both my iPhone 7+ and my Nikon and Leica. Am saving all you info. Thanks, Barbara Ellis
Most welcome Barbara! Please connect on instagram @aligphoto for more tips!
Great, thanks for the suggestions and included examples.
You’re very welcome, glad it was helpful. Please connect on instagram as well, @aligphoto