Photographing the moon can be tricky. Last year I had a go at it, and it was a complete disaster, with the moon looking like a big, bright, blurry mass in the sky. After a bit of trial and error I discovered how to take nice shots of the moon.
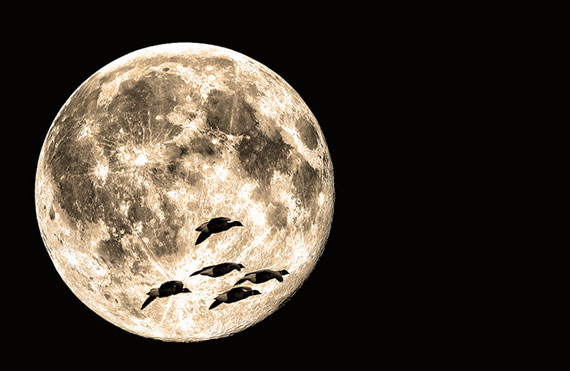
Photo by Jon Bunting
The right lens
The first thing you need is a powerful zoom lens. The moon may look big in the night sky but when your camera takes a photo of it, the moon will only fill a tiny portion of the photo. On a 50mm lens the moon with be nothing more than a dot in your picture. I used a Canon 100–400mm lens, which was a lot better, but to be honest an even longer zoom would have been better.
Keep it steady
The next thing you 100 percent need is a tripod. Keeping the camera still is essential for getting a sharp image, and if you’re using a long zoom lens, camera shake will be an issue; the longer the zoom the more camera shake affects the image. The tripod will hold the lens still and allow you to take a sharp image. Also you will need to use either the camera’s timer function or a shutter release cable to trigger the shutter, otherwise you can jolt the camera while taking the photo and get blurred results.
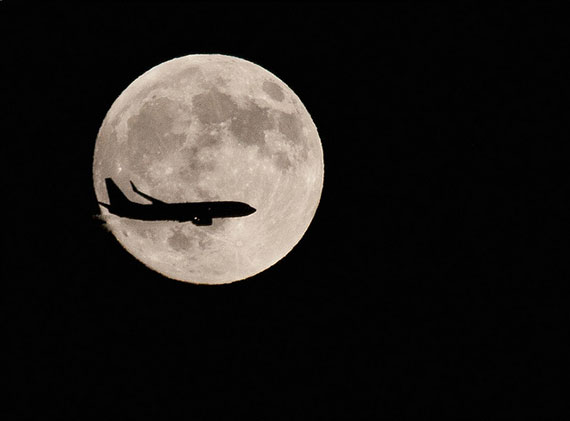
Photo by Ingrid Taylar; ISO 800, f/11.0, 1/500-second exposure.
Aperture
What f-number/aperture should you use? The first thing that comes to mind is a low f-number (e.g. f/4.0 or lower) to take in more light. This is where I went wrong. The moon is actually very bright in the sky and using a low f-number can completely blow out the moon and make it look more like the sun. The ideal f-number would be somewhere between f/11 and f/16.
Shutter speed
For shutter speed you might assume a slow speed, but again this is the opposite. Since the moon is bright you don’t need as much time to capture the light it gives off. Also the moon actually moves quite fast along the night sky. If you have a 400mm lens or longer you can actually see the moon moving slowly across the viewfinder. If we used a slow shutter speed then the actual movement of the moon could cause us to lose detail. This is why I would recommend a speed of around 1/125 to 1/250 second.
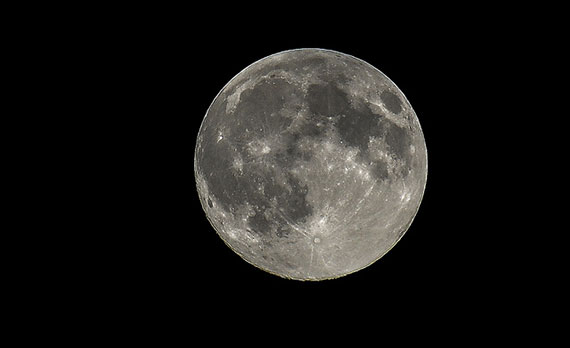
Photo by Jordan Confino Elevatedph; ISO 200, f/9.0, 1/160-second exposure.
ISO
I would have around 200-400 and then just experiment with different combinations of ISO, aperture, and shutter speed with the guidelines above until you get a nice exposure of the moon. You may need to also experiment if the moon is showing different amounts depending on the time of the month.
Cropping
Once you have your perfect shot, load it onto your computer. Even on a 400mm lens the moon can still take up a relatively small area of your photo. If you got your settings spot on and managed to get a very sharp photo of the moon then you can crop your image and even zoom in a little bit so the moon itself fits better in the finished framing of your photo.
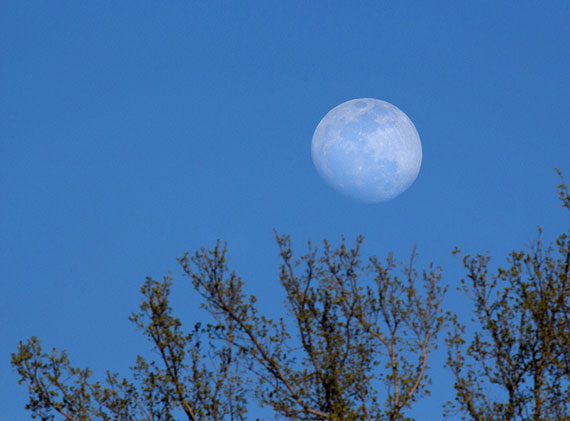
Photo by Jenny; ISO 400, f/18.0, 1/320-second exposure.
Pointers for Photographing the Moon
- Use a long zoom lens.
- Always use a tripod and shutter release timer or cable.
- Don’t use a low f-number.
- Don’t use a slow shutter speed.
About the Author:
Chris Thornton writes for http://www.colourjam.com, a Web & Print design company.
Like This Article?
Don't Miss The Next One!
Join over 100,000 photographers of all experience levels who receive our free photography tips and articles to stay current:


I thought since the moon looked stationary, shutter speed isn’t something to think about, but apparently it is! Thank you for sharing your tips, I will definitely apply it for future shoots.
Thank you very much. After many years of trying, I finally managed to get a picture of the moon using your settings!!
I took this handheld with my Canon 5D Mark IV , Tamron 150-600mm G1 lens with a 2X teleconverter.
https://photos.app.goo.gl/yL3uxElwGECMIiie2
Untouched/straight out of the camera. While not the sharpest due to the 2X converter forcing manual focus, I still don’t think it’s bad. While I didn’t use a tripod (didn’t have time to didn’t to set it up), I did prop the lens and camera against a porch post.
Ok I have the general gist of how to photograph the moon. But with the 100 – 400mm lens that has Auto focus and manual focus and Stabilizer 1 and 2, 2 infinity looking symbol like the figure 8 that are 1.8mtrs and 6.5mtrs… and the infitinity sign for shooting stars….. some help with that would be great. Learning but not a lot of info on that
Thanks! Last year in February I sat out during the blood moon lunar eclipse for four hours at 11-3. I wasn’t too thrilled with the results. Tonight’s will be much better since I’m not learning as I go and am prepared
Good article – I was very frustrated in trying Super Moon shots because I was opening the aperture too much and/or too slow of a shutter speed. I did manage to get a decent one before it was completely dark out. I think this made it easier for me to focus.
one thing that’s not mentioned but is very important – turn off the Image Stabilizer. I had heard that you should do this if you’re on a tripod but didn’t really experience lens wandering until I was shooting a moon.
Moon is always fun to shoot. Especially when you can get the timing correct with a passing airplane. Such is the case with me – after a 2 1/2 hours wait and being eaten alive by mosquitoes I finally managed my “Fly me to the Moon” shot – http://500px.com/photo/35438610
Why not work with the “Sunny 16” rule.
The moon is always illuminated by the sun so it will work. 1 divided by the ISO = shutter speed. Your aperture will always be f16. Manual mode.
Maybe change the aperture by 1/3 either way.
What about focusing? Do you focus to Infinity with Manual Focus?
Wow! The picture of the plane and the Moon is amazing!
Excellent info, thanks!
Thanks I needed this the moon was blood red last night and I missed it. NEVER again!
thnx a lot dude….!!!….wt i calld moon till nw…ws jus a white dot in the blck sky…!!….bt i guess…i neva did it rite…!!…thnx again…!!
au revoir.
brill, have been doing the wrong thing all along!
lol :D
cheers!
you guy`s should try to take a picture of the moon when its half .. get more detail of the moon then:P thank you for a super article :)
Awesome post, I always wondered, lol