When photographing on-location, the location itself plays an important role in telling a story. Besides the location, your choice of models, use of props, and lighting are some other important factors that add to the character. In this video, photographer Gavin Hoey from Adorama has some simple tips for you to maximize the character in location portrait shoots:
Location
The location is by far the most important element that shapes the character in your image. It acts as the backdrop and sets up the mood for the image. So, when scouting for a location, be sure to choose the one that complements what you have in mind.
“The location is the key to getting your character, but then there’s other things as well.”
Model
The next important factor that affects the character of your image is the model. How they portray themselves will affect the way your images come out.
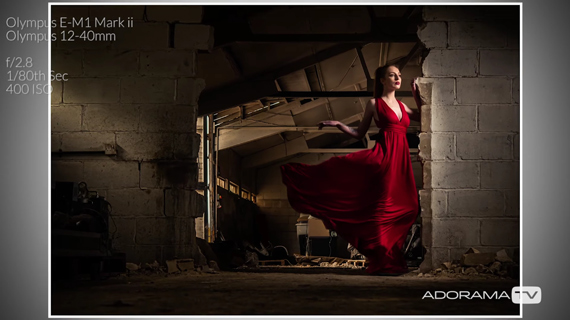
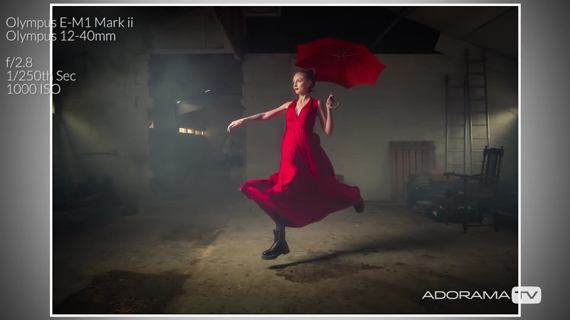
When deciding on the styling, you have two options: either complement the location or do exactly the opposite. In Hoey’s case, instead of going for a grungy look to complement the location, he has gone for a stylish red dress.
Lighting
If the lighting on-location is perfect and matches what you have in mind, you can simply go ahead and shoot with what’s available. Or, you can add artificial light to add more character.
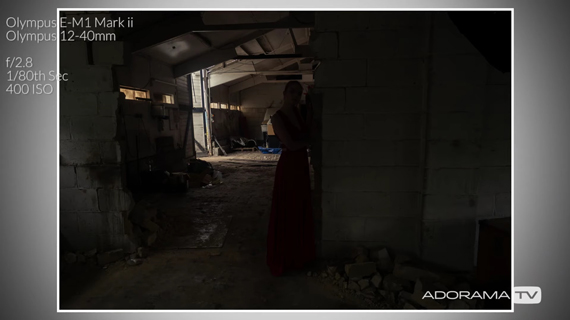
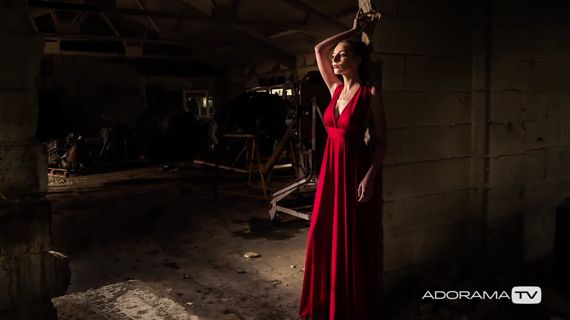
Hoey starts by taking a test shot that has a beautiful light on the background, a bit of light on the foreground, but not much on the model.
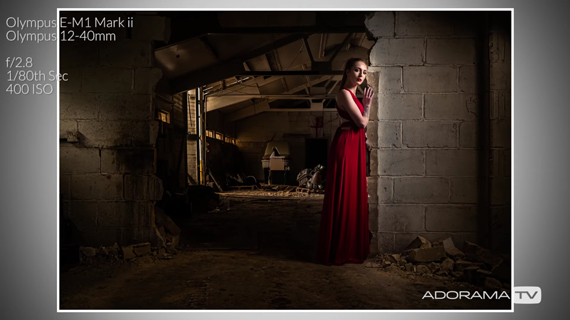
As the model is totally underexposed, he adds in a light matching the camera settings. As you can see, the image immediately looks moodier.
Props
“So location, styling, and lighting can get you quite a long way to add some character to your pictures, but ultimately you’re going to need some props.”
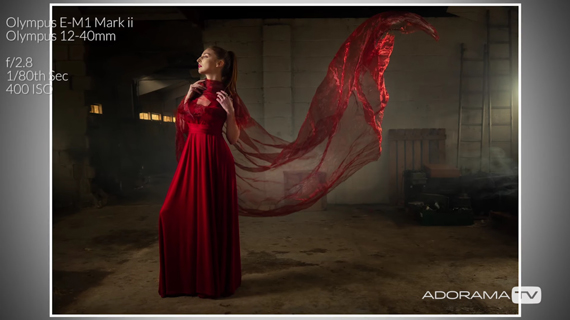
Props add a sense of excitement to the story. They help big time in telling your story and give the model something to do. And when the model has something to do.
Post-Processing to Add Character
“When it comes to character in your images, post-processing can play a really large part of the process, or it could be used to fine tune what you’ve already shot.”
While Hoey tried to get most things right in-camera, there were a few things that needed fine-tuning. For instance, in the following image, the model’s safety boots were showing, and a large blue item on the back needed to go.
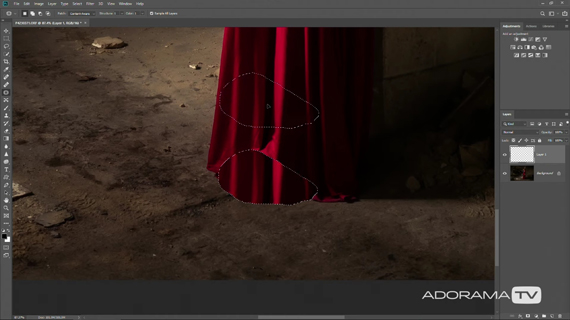
To get rid of the boots, Hoey uses the Patch tool in Photoshop. Here’s how you can do it:
- Create a new layer.
- Choose the patch tool and draw around the boot.
- Once done, move the selection over to another portion of the dress, and let go.
- Hit Ctrl + D (Command + D for Mac Users) to lose the selection.
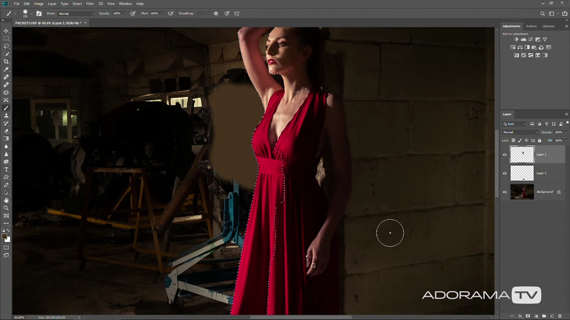
Next, to do away with the blue object in the background, Hoey decides to repaint it in Photoshop with a color that matches the rest of the scene:
- Create a new layer.
- Select the portion of the image that you want untouched. Hoey makes a selection around the model using the Quick Selection Tool.
- Once done with the selection, invert it by going to Select > Inverse.
- Go to Select > Modify > Feather… and enter a smaller value like 2 to give a feathered edge to your selection. This prevents the occurrence of hard edges and gives a more realistic effect.
- Using the color picker tool, select a color that’s mostly present in the image. In his case, Hoey selects brown and paints over the object. The selection ensures that you will not be able to paint over the model.
- Once done painting over the distracting object, change the blending mode to Color, and adjust the transparency of the layer to blend it.
“There’s how you can add some character to your location portraits. The location, the styling, the props, and having an awesome model makes all the difference.”
Like This Article?
Don't Miss The Next One!
Join over 100,000 photographers of all experience levels who receive our free photography tips and articles to stay current:



Leave a Reply