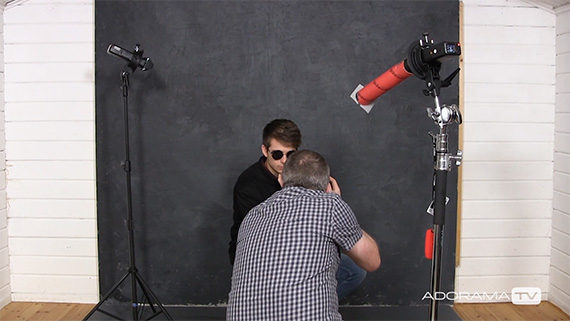
Portrait photography is usually associated with complex lighting equipment. But that’s not always necessary. Photographer Gavin Hoey from Adorama believes that sometimes less is more. He demonstrates how to create a beam of light for a portrait shoot using a cardboard tube and some tape:
To achieve the thin slit of light for the portrait session, Hoey uses the following:
- eVOLV 200
- snoot
- barn doors
- cardboard tube
- tape
You might anticipate that using the eVOLV 200 with the barn doors would get the job done to achieve the slit of light. But as Hoey demonstrates, the result wasn’t satisfactory. By a repeated trial and error, Hoey was finally able to achieve a slit of light by using a long packaging tube placed over the eVOLV 200 with a snoot. It’s also important to note that the circular opening of the tube was converted into a slit by using tape.
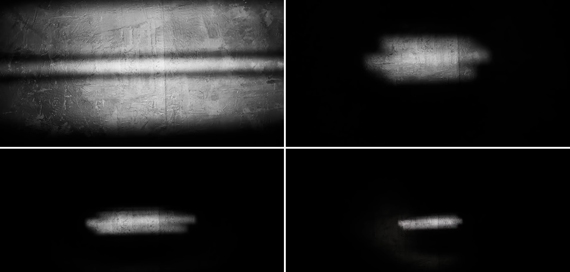
Top left: using a barn door. Top right: using a snoot with tape. Bottom left: using a short tube with tape. Bottom right: using a longer tube with tape.
Once the result is satisfactory, it’s time to call the model into action and get some creative results.
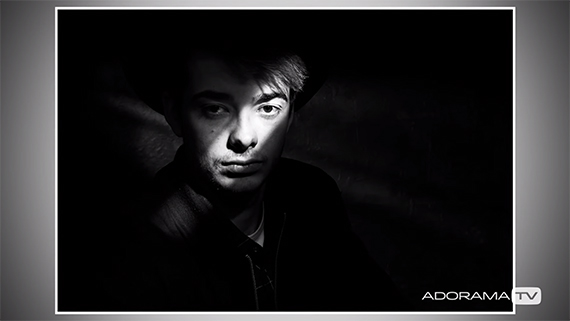
- Adjust the position of the light by firing test shots. Make sure that the light falls on the eyes.
- Using a light meter can be tricky when using a thin slit of light, so adjust the camera settings by trial and error.
- Depending on how you want to shoot, change the direction of the light by readjusting the tape. You can change the beam from vertical to horizontal to diagonal. Every time the beam is readjusted, be sure to check that the light falls on the model’s eyes.
- If you feel that your background is too dark, you can use another light for it. Adjust the shape and intensity of the light using the barn door.
- You can provide the model with some props and use his/her expressions to add to the mood of the image.
- Experiment by having the model seated on the floor. Also try pointing the light toward the wall to create a stretch of light.
- Shoot from various angles to get varied results.
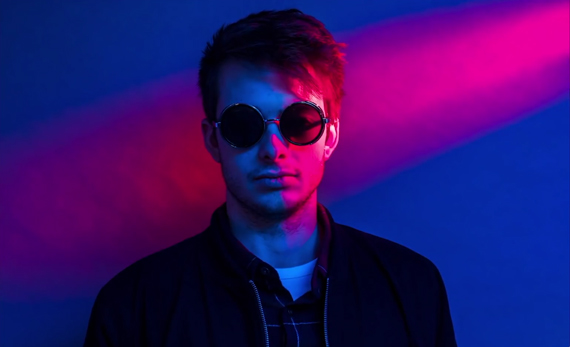
- To add some colors to the photograph, you can add color gels to the eVOLV 200. To get more dramatic and colorful results, use different colored gels on different lights. However, while using gels, you may need to readjust your camera settings, as the gels block off some light.
While you may be pleased with the results, remember that you’ll want predictable and consistent results. There are some great tools out there to make that possible. But if you don’t do this kind of photography often, you may be happy trying it out with cardboard.
Like This Article?
Don't Miss The Next One!
Join over 100,000 photographers of all experience levels who receive our free photography tips and articles to stay current:




Leave a Reply