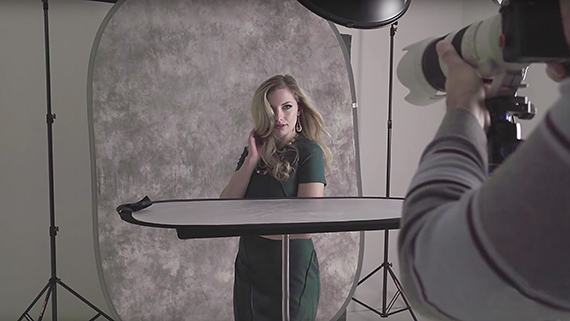
The beauty dish is a studio photographer’s dream come true. Producing a soft yet direct light, the results of this modifier prove that its name is not unwarranted. Here, photographer Miguel Quiles shows off some basic setups that best illustrate the capabilities of this tool:
There are two ways of employing the beauty dish—with and without a grid. Believe it or not, the grid can completely transform the quality of light and overall mood reaching an image. For this reason, many beauty dishes, including the Phottix model used in this particular setup, package some sort of grid with the purchase of the modifier.
As the tutorial demonstrates, the bare beauty dish brightly illuminates a model and leave very few shadows, even without the assistance of a supplemental light source. The addition of a strategically placed silver reflector can virtually eliminate all of the shadows resting on a model by bouncing fill light. Subsequently, this brightens the overall image exposure and rounds out facial features.
A honeycomb grid serves to direct the light at a slight angle. By positioning the grid along the rim of the beauty dish, the light hitting a subject or model becomes harder. Although the exposure is cut down when a grid comes into play, defined shadows highlight features such as skin texture and bone structure to create more dramatic images.
Which setup works best is completely situational. Some circumstances may call for contrast and sharp detail, while others may warrant a soft, welcoming light. Either way, the versatility of the beauty dish makes it useful to any working photographer.
Like This Article?
Don't Miss The Next One!
Join over 100,000 photographers of all experience levels who receive our free photography tips and articles to stay current:


Leave a Reply