Winter can be a tough time for photographers and models alike. Chilly weather, harsh conditions, and poor lighting all combine to make the job a tough one. Does this mean you should take a photography break when it’s cold outside? Photographer Gavin Hoey from Adorama doesn’t necessarily think so. Check out how he manages to bring winter into the comfort of his home studio for a great portrait session:
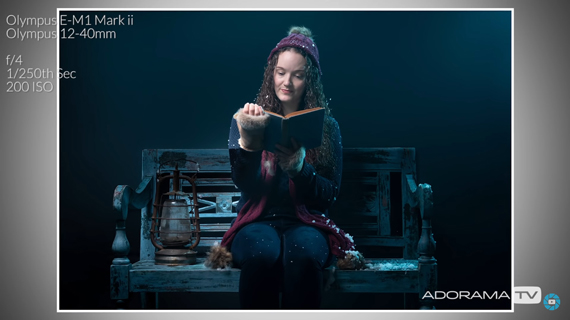
A winter photo feels incomplete without some snow. And replicating real snow inside a home studio can get messy. So, Hoey’s idea is to first take the photo and add the snow later in post.
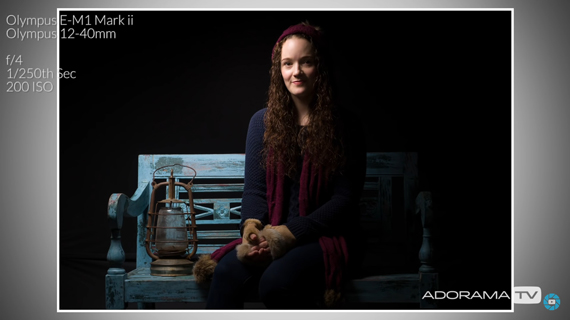
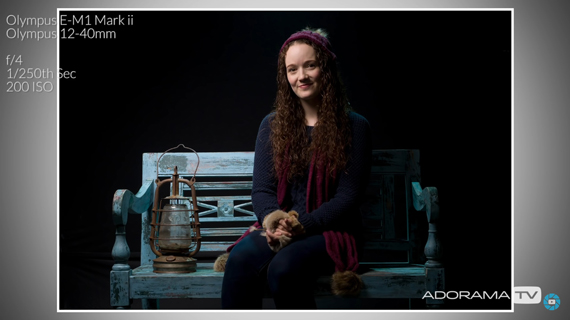
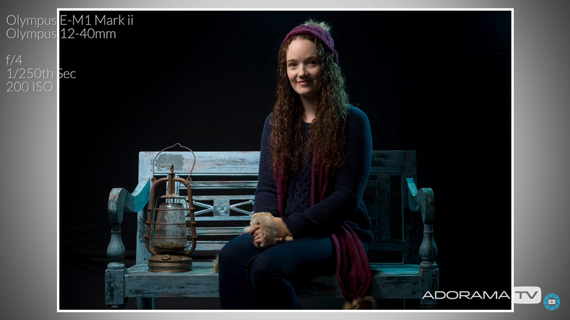
To set the winter mood, Hoey has the model wear warm clothes and sit on a park bench replica. He uses a black background for the shoot and has a three-light setup.
Lighting Setup
Hoey uses an eVOLV 200 as the key light, placing it off to the side to avoid flat lighting. In order to avoid light spill and to have better control over the light, Hoey uses a grid as well. This is very important for a small home studio. The result is an image that appears to be lit by an elevated lamp post from the side.
He uses another eVOLV 200 behind the model to act as a separation light. The light is set up to light the model’s shoulders and hat and separate her from the black background. This light also illuminates the smoke to give a hazy winter effect. Also, to emphasize the cold winter look of the image, he uses a blue gel on the back light. By setting the light’s power to 1/64 power, he is able to get a subtle effect.
The key light illuminates one side of the model’s face, leaving the other half in shadow. Hoey uses a fill light powered at 1/128 and covered with a blue gel to add color to the shadows. This further adds to the cold winter feeling.
Winter Photo Shoot Technique
Besides creative use of lighting, Hoey makes use of a smoke machine to give a hazy look to the image. He also sprays some fake snow on the model to make the post-processing a bit easier.
Post Processing
In the image above, the model has some “snow” on her when it isn’t even snowing. While you could use some more fake snow during the shoot for a realistic effect, the same can be achieved in post. Hoey demonstrates how you can add snow using Photoshop:
- Download and install his free Photoshop action from his blog.
- Open the image in Photoshop.
- Using Hoey’s action, select the kind of snow you want and click on the play button to run the action. After the action runs successfully, you will notice snow in your image.
- To remove the snow from unnecessary areas of the image, select the snow layer and paint over the snow using the brush tool with black selected.
- Once you’re happy with the image, go to Layer > Flatten Image.
To take things one step further, Hoey uses the Camera Raw filter in Photoshop to light the old lantern:
- Select the Adjustment brush tool.
- Set the temperature, tint, exposure, highlights, and clarity all the way to maximum. Leave everything else at zero.
- Reduce the brush size and click on the lantern a few times to give it a glowing effect.
Next, Hoey adds a warm glow around the lantern:
- Take a new Adjustment brush and leave the temperature and tint at maximum.
- Bring the exposure down to about under a stop and set the highlights and clarity to zero.
- Then, increasing the size of the brush, click on the lantern to add a warm glow around it.
Finally, to add some finishing touches, Hoey adds a radial filter to darken the area on the model’s left side. And to give viewers a feel that there’s actually a street lamp where the key light was placed, Hoey takes a large soft brush with a light blue color and paints on the corner. To make it realistic, he drops its opacity down for a subtle effect.
This tutorial is just perfect for those times when you want to take a winter-themed photo while avoiding actual winter photography struggles.
Like This Article?
Don't Miss The Next One!
Join over 100,000 photographers of all experience levels who receive our free photography tips and articles to stay current:



Leave a Reply